
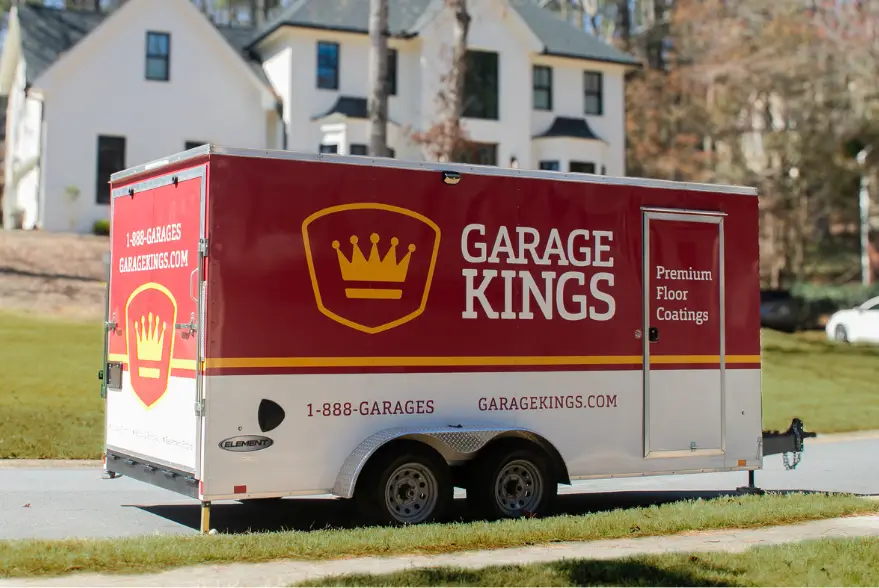
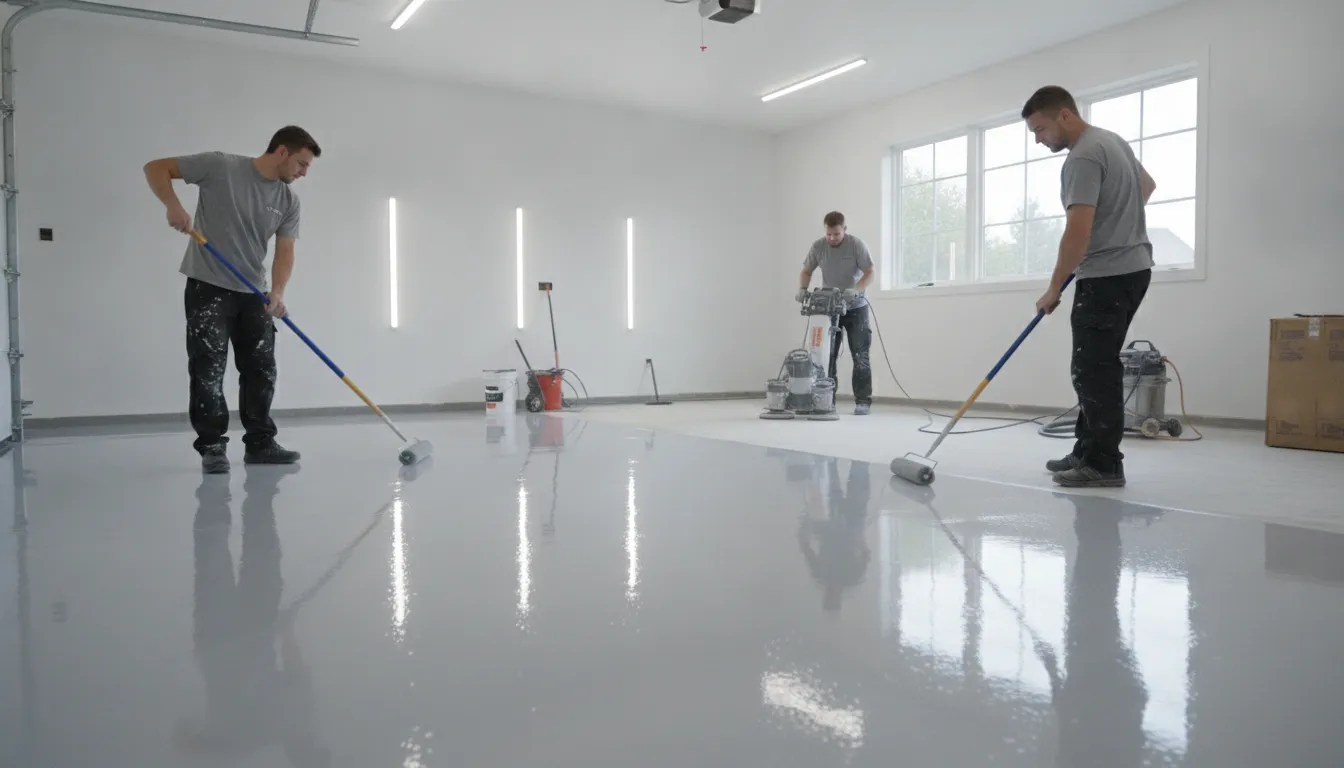
Install day should feel organized, not mysterious. After the crew confirms the work area, the process typically moves from concrete preparation to coating, decorative flake application, and protective topcoats in a carefully timed sequence. Most Garage Kings garage floor transformations are completed in one day, minimizing disruption while creating a durable surface built for everyday use.
The polyaspartic garage floor installation process usually includes diamond grinding and crack repair, application of the basecoat, broadcast of decorative flakes while the coating is wet, and one or more protective topcoats. Polyaspartic is UV stable, hot-tire pickup resistant, and up to four times stronger than standard epoxy, but the finished result depends on disciplined preparation and proper cure time.
Schedule your free in-home estimate and 3D AR visualization today so your Garage Kings team can review your floor and confirm exactly what happens on install day.
Knowing what happens before the first coat is applied makes the timeline easier to understand and helps you get the best result from your locally owned and operated Garage Kings team. For the full picture of materials, durability, and coat options, start with our complete guide to polyaspartic garage floor coating. A smooth installation starts with the space itself, so begin by preparing your garage before the installer arrives.
How to Prepare Your Garage Before the Installer Arrives
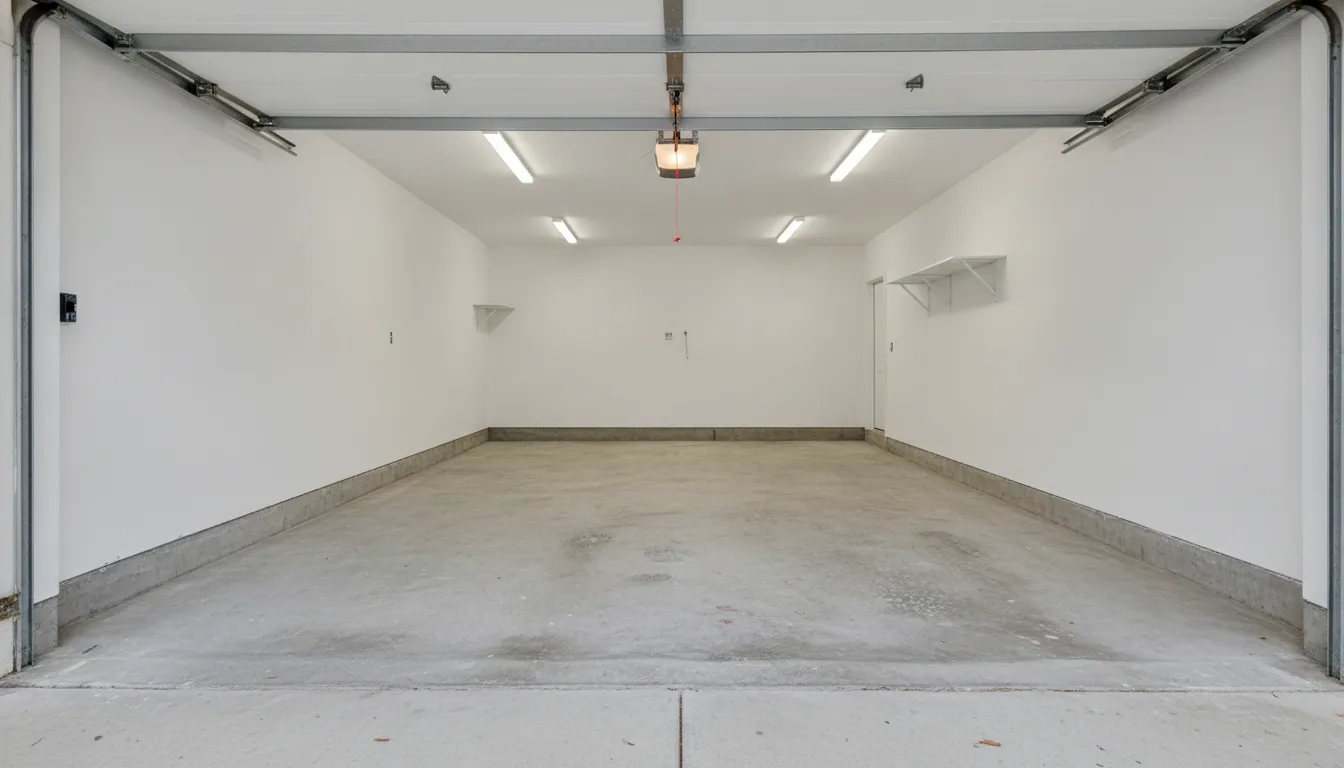
A little preparation helps the installation crew focus on the concrete, surface preparation, and coating system instead of working around household items. Before installation day, plan to give the crew a clear, accessible workspace from the garage door to the back wall. This is one of the simplest ways to support a clean, efficient overview of installing polyaspartic garage flooring experience.
Clear the Floor and Lower Storage
- Move every vehicle out of the garage and keep the driveway or nearby access area available for the crew.
- Remove boxes, tools, toys, appliances, loose shelving, and other items sitting on the floor.
- Empty cabinets, drawers, and freestanding shelves that may need to be moved or protected during installation.
- Move stored items at least 6 inches up the walls whenever possible. This gives the crew room to prepare the perimeter and protects belongings from dust and coating materials.
Help the Crew Understand the Existing Concrete
Walk the garage before the appointment and note visible cracks, stains, old repairs, peeling paint, or areas that have absorbed oil. You do not need to diagnose the concrete yourself. Marking or photographing these areas gives the installation team useful context when they inspect the slab. Proper surface preparation, including diamond grinding and crack repair, is a critical part of long-term coating performance. Industry sources identify inadequate preparation as a leading cause of flooring failure.
Confirm Access for Equipment and Materials
Make sure the crew can bring equipment through the garage opening and reach the entire floor. The team may need space for a diamond grinder, crack-repair materials, coating containers, mixing equipment, and cleanup tools. Remove obstacles near the entry and confirm that doors, gates, and pathways are unlocked or accessible at the scheduled arrival time. If you have concerns about outlets, ventilation, pets, or fragile items nearby, discuss them with the Garage Kings team before installation day.
Q: What should I leave in the garage before installation?
A: Leave only items that cannot be moved safely or easily. Tell the crew about anything remaining so they can advise whether it must be relocated or protected before surface preparation begins.
What Happens During Surface Prep and Diamond Grinding?
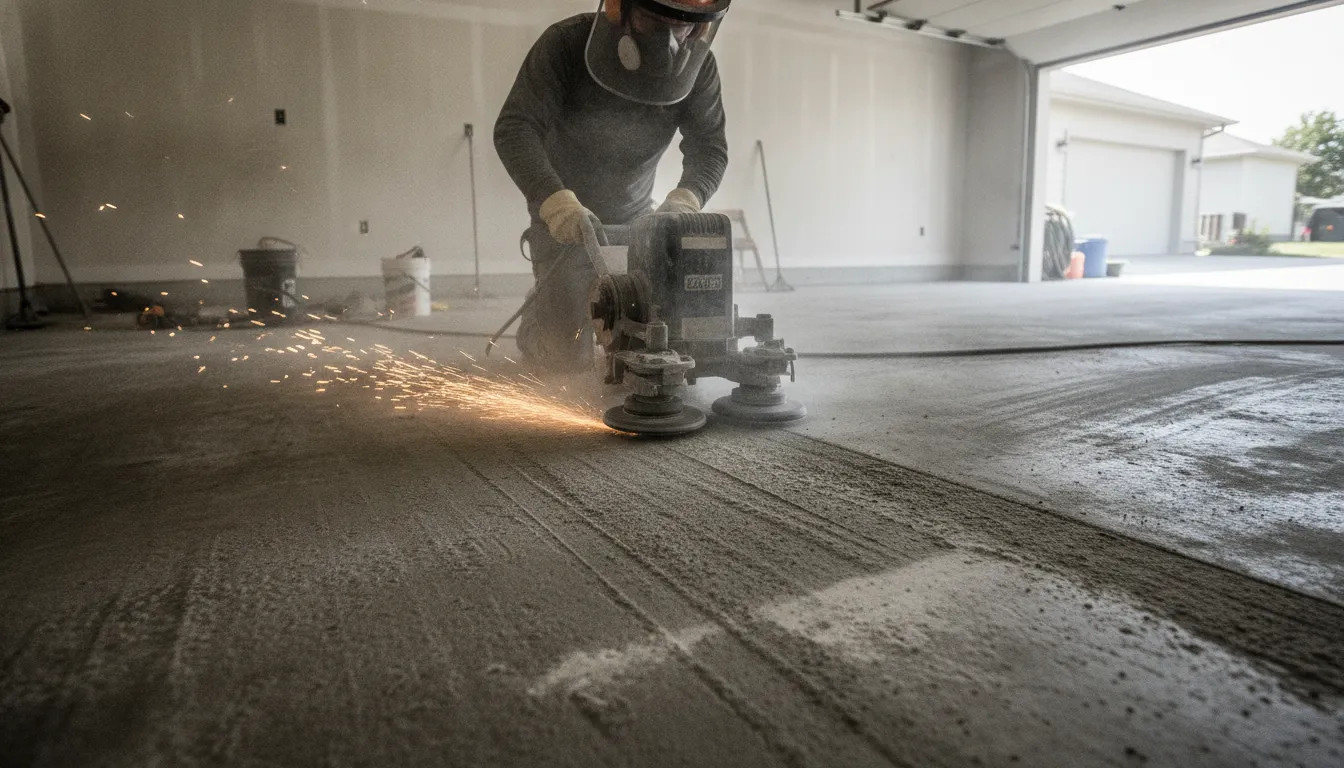
The coating can only perform as well as the concrete beneath it. That is why surface preparation is the most important part of the installation. Improper preparation is one of the leading causes of flooring failures, according to industry installation guidance. A professional crew does not simply roll polyaspartic over a dusty or uneven slab. They create a clean, mechanically prepared surface that gives the coating a dependable bond.
For a typical two-car garage, this stage often takes about two to four hours. The exact time depends on the concrete condition, previous coatings, cracks, edges, and the amount of repair needed. Taking that time up front helps the rest of the polyaspartic garage floor installation process move efficiently without sacrificing adhesion or finish quality.
Diamond Grinding Opens the Concrete
Installers use professional diamond-grinding equipment to remove weak surface material and lightly profile the concrete. This process opens the pores of the slab so the basecoat can grip the surface instead of sitting on top of contaminants or smooth cement paste. Grinding also helps address old coatings, minor surface irregularities, and areas where the concrete needs a more consistent profile.
Cracks and Chips Are Repaired Before Coating
After grinding, the crew inspects the slab for cracks, chips, pits, and other defects. They repair these areas before applying the coating system. This step does not mean every movement crack can be eliminated permanently, since concrete can continue to move. But it does prevent obvious damage and loose material from being sealed into the finished floor. The installation sequence commonly begins with diamond grinding and crack repair before any coating is applied.
Thorough cleanup is part of preparation, not an afterthought. The crew vacuums the work area and removes grinding dust and debris so the prepared concrete remains clean when the basecoat goes down. A careful process may take longer than a rushed application, but it protects the bond that supports the floor’s long-term durability.
Q: Can you apply polyaspartic directly to concrete?
A: Only after the concrete has been properly ground, repaired, and cleaned. Applying it directly to an unprepared slab can compromise adhesion and increase the risk of premature flooring failure.
How the Polyaspartic Garage Floor Installation Process Unfolds
Once the concrete is properly prepared, the coating crew works through a controlled sequence. Each layer has a purpose, and the timing depends on the product system, temperature, garage size, and crew workflow. A professional polyaspartic installation is designed to move efficiently without treating curing time as optional.
-
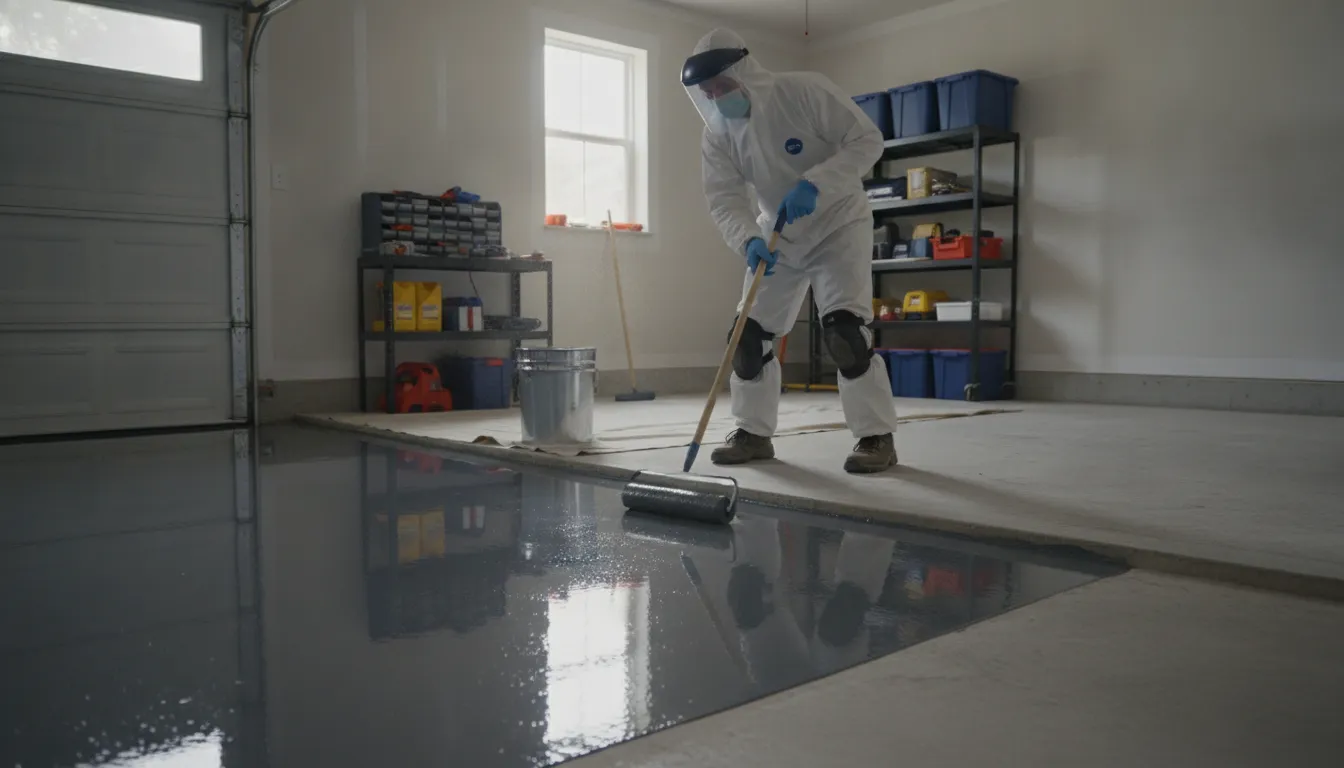
Primer or Basecoat: About 30 to 60 Minutes
The crew rolls the primer or basecoat across the prepared concrete, maintaining an even film over the floor. This layer bonds the system to the slab and creates the wet surface needed for the decorative broadcast. Two-component, or 2K, polyaspartic systems can dry in roughly 15 to 30 minutes under suitable conditions, so the team works methodically and keeps the application moving.
-
Decorative Flake Broadcast: About 30 to 45 Minutes
While the basecoat is still wet, installers broadcast decorative flakes across the surface. The flakes adhere during this wet window and create the finished floor’s visual texture and color variation. The crew distributes them consistently, then removes loose material after the coating has set. This is not a step to rush or improvise, because the broadcast affects both appearance and surface texture.
-
Topcoat and Optional Grip Texture: About 30 to 60 Minutes
After the flake layer is prepared, the crew applies the clear topcoat. An optional grip texture can be incorporated when the homeowner wants additional traction. The topcoat seals the decorative layer and helps the finished system resist hot-tire pickup, UV exposure, and everyday garage wear. Garage Kings uses polyaspartic systems that are 4x stronger than standard epoxy, supporting a durable finish without sacrificing the one-day installation model for most projects.
Q: How can a complete coating installation finish in one day?
A: Professional crews coordinate each application window, use fast-curing 2K materials when appropriate, and complete the work in a planned sequence. A standard two-car garage may be ready for light foot traffic in approximately 6 to 8 hours, while full vehicle use is generally possible within 24 hours. Exact timing varies with site conditions and the selected system.
Get a free quote from Garage Kings to confirm the recommended system and timeline for your garage. Mention any concerns, and your team can address them before installation begins.
For a deeper technical comparison of material characteristics, read our guide to polyaspartic vs epoxy flooring. Your locally owned and operated Garage Kings team can also explain the recommended coat system during a free in-home consultation with 3D AR visualization.
When Can You Walk and Park on the New Floor?
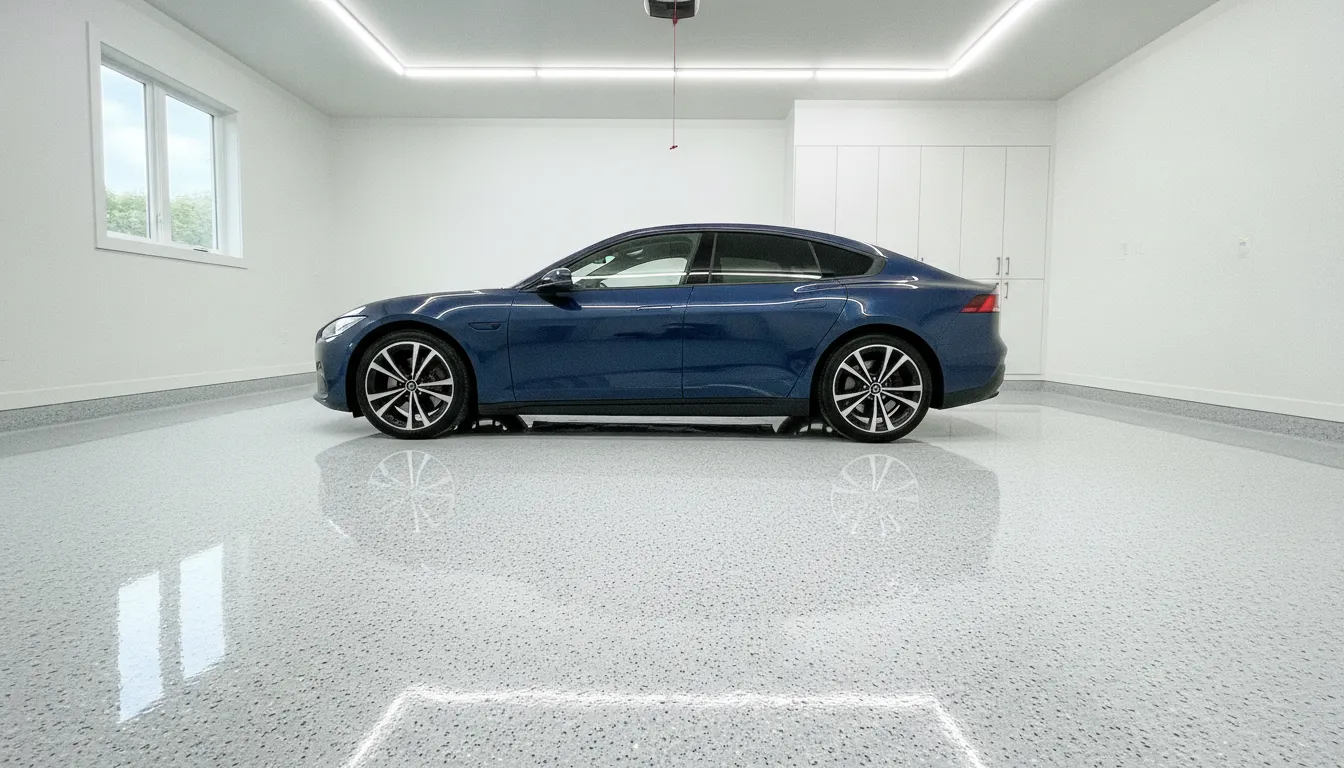
The coating may look finished before it is ready for everyday use. Cure time gives each layer the strength and bond it needs, so following the crew’s instructions protects the finish from scuffs, tire marks, and premature wear.
For a typical two-car garage, light foot traffic is often allowed about 4 to 6 hours after the final coat. Depending on the project schedule, that may mean walking normally on the floor later that evening. A broader installation reference places light foot traffic within roughly 6 to 8 hours and full vehicle use within 24 hours. See the published installation timeline for those general benchmarks.
| Activity | Typical Timing After Final Coat | Homeowner Guidance |
|---|---|---|
| Walking at the edges for cleanup | About 4 to 6 hours | Only as directed by your crew; keep it light until the surface sets. |
| Light to normal foot traffic | About 6 to 8 hours | Move items into the garage slowly and lift, rather than drag, anything heavy. |
| Full vehicle use | Within about 24 hours | Park before this window only if your installer confirms it is safe. |
Keep the Garage Clear Until the Crew Releases It
Plan to leave the garage empty while the installers work and through the initial cure period. Do not carry furniture, storage bins, tools, or appliances back across the floor until your crew says it is ready. Once you can walk on the surface, move items carefully. Lift them when possible instead of dragging them, since concentrated weight and sharp edges can mark a coating that is still gaining hardness.
Wait Before Parking a Vehicle
Walking and parking are different milestones. Tires place concentrated weight on a small area, and turning the steering wheel can create substantial friction. Keep vehicles outside until the recommended vehicle-cure window has passed, generally about 24 hours for full use. Your installer may adjust that guidance based on the coating system, site conditions, temperature, humidity, and the concrete itself. The crew’s specific instructions take priority over any general timeline.
A professional one-day installation does not mean the floor skips curing. It means the preparation and coating stages are completed efficiently by an experienced crew, while the finished surface continues curing overnight. Giving it that uninterrupted time is part of the installation, not a delay or an optional extra.
Q: Could you apply polyaspartic in a 2-car garage in 2 hours?
A: A two-hour application would not represent the complete process. Surface preparation, repairs, coating steps, flake application, cleanup, and cure time all matter. A properly managed one-day project may be ready for light foot traffic later that day, but it still needs the recommended overnight period before vehicle use. Ask your crew for the exact release times for your floor.
What to Do If You See an Issue After Installation
A professionally installed polyaspartic floor should look clean, uniform, and ready for years of daily use. Still, homeowners may occasionally notice a stray flake, a small spot, a scuff, or a hairline area after the crew leaves. Most observations are minor and do not mean the entire system has failed. The right response is careful inspection and prompt communication, not an improvised repair.
Let the Floor Finish Curing Before You Judge It
Give the coating time to cure fully before moving heavy items back into the garage or evaluating its final appearance. Cure time can vary with temperature, ventilation, product chemistry, and the specific system installed. Your Garage Kings team will explain when light foot traffic and vehicle use are appropriate. Following those instructions protects the finish and gives the layers time to develop their intended performance.
A premature scuff or mark may come from moving something across a surface that is still curing. Do not scrub aggressively, apply a store-bought coating, or place another product over the area. Those actions can make diagnosis more difficult and may affect warranty coverage.
Document the Area and Contact Your Installing Team
Take a clear photo in good light, include a wider image that shows where the issue is located, and note when you first saw it. Then contact the local Garage Kings team that completed the work. Professional crews can determine whether the observation is a cosmetic touch-up, a curing-related mark, or something that needs additional attention. They can also recommend the correct cleaning method or service response for the exact coating system.
This approach is more reliable than attempting a DIY patch. Polyaspartic systems rely on proper surface preparation and carefully applied layers, so an unmatched repair product can create a visible difference or interfere with the finish. Garage Kings supports locally owned and operated teams with national standards and warranty coverage, including tiered lifetime warranties. The 6-coat system carries a lifetime warranty, giving homeowners a clear path for addressing covered concerns.
Q: How do I clean or maintain my new polyaspartic floor?
A: Follow the care guidance from your installing team, use gentle cleaning methods, and avoid harsh chemicals or abrasive tools unless Garage Kings specifically approves them. These garage floor maintenance tips can help you protect the appearance while you establish a regular routine.
With professional follow-up and the right care, a small post-installation observation can be handled without compromising the complete garage transformation.
Frequently Asked Questions
How should I prepare my garage before installation?
Remove vehicles, loose items, wall-mounted obstacles near the floor, and anything you want to keep away from dust or coating materials. Your installation team can confirm the exact clearance needed and identify cracks, moisture concerns, or damaged concrete that require attention before coating begins.
Can polyaspartic coating be applied directly to concrete?
It should not be applied over untreated concrete without professional preparation. The crew typically diamond-grinds the surface, repairs cracks, and removes contaminants so the coating can bond properly. Inadequate preparation is one of the leading causes of flooring failure, according to industry installation guidance.
Can a two-car garage really be completed in one day?
Yes, most Garage Kings garage floor transformations are completed in one day when site conditions are suitable. That does not mean the floor is ready for immediate vehicle traffic. A standard two-car garage may be ready for light foot traffic in about 6 to 8 hours. While full vehicle use is generally possible within 24 hours, according to installation timeline guidance.
Why are decorative flakes broadcast during installation?
Flakes are spread across the wet basecoat so they become embedded in the coating and contribute texture, color, and visual depth. After the appropriate cure time, the crew removes excess flakes and applies the protective topcoat. The timing matters because flakes need to bond while the basecoat remains wet, as described in polyaspartic application guidance.
Book a free in-person estimate from a local Garage Kings team. First-time customers may be eligible for up to 50% off their first spot, subject to availability in your area.
Schedule Your Free Garage Transformation Consultation
Seeing the installation process makes it easier to plan your garage upgrade with confidence. Garage Kings can review your space, explain the polyaspartic system, and help you visualize the finished result before work begins. Schedule a free in-home estimate and 3D AR visualization to discuss your project with the Garage Kings team. Prefer to talk now? Request a callback or contact your local Garage Kings team through the website.